


Cloudnosys SaaS platform is built with a purpose to solve security and compliance vulnerabilities for cloud environments such as Amazon AWS and Microsoft Azure. Cloudnosys provides real-time monitoring, risk management, data loss, network security policy management and automation for your cloud environment across providers, regions and accounts.
So, register for free and experience the power of security and compliance automation in your AWS and Azure Cloud environment with a 14-day free trial of Cloudnosys.
Get Started with Cloudnosys Console
Once you have successfully registered into Cloudnosys, You will get a 14 day trial version, first thing is to verify your account via confirmation email sent to your registered email address. Incase if the email is not received or missed, hit ![]() . After successfully validating the registered account, Cloudnosys allows you to create Cloud Accounts with your desired cloud providers – AWS or Azure.
. After successfully validating the registered account, Cloudnosys allows you to create Cloud Accounts with your desired cloud providers – AWS or Azure.
Cloudnosys provides an outlook of your cloud’s security posture with three interactive dashboards;
1. Security Dashboard
Cloudnosys’s security dashboard provides a visualization of your cloud’s security aspects. It contains the details of all the surface items found in your cloud environment with individual count and details of all risk and resources in a cloud provider service.
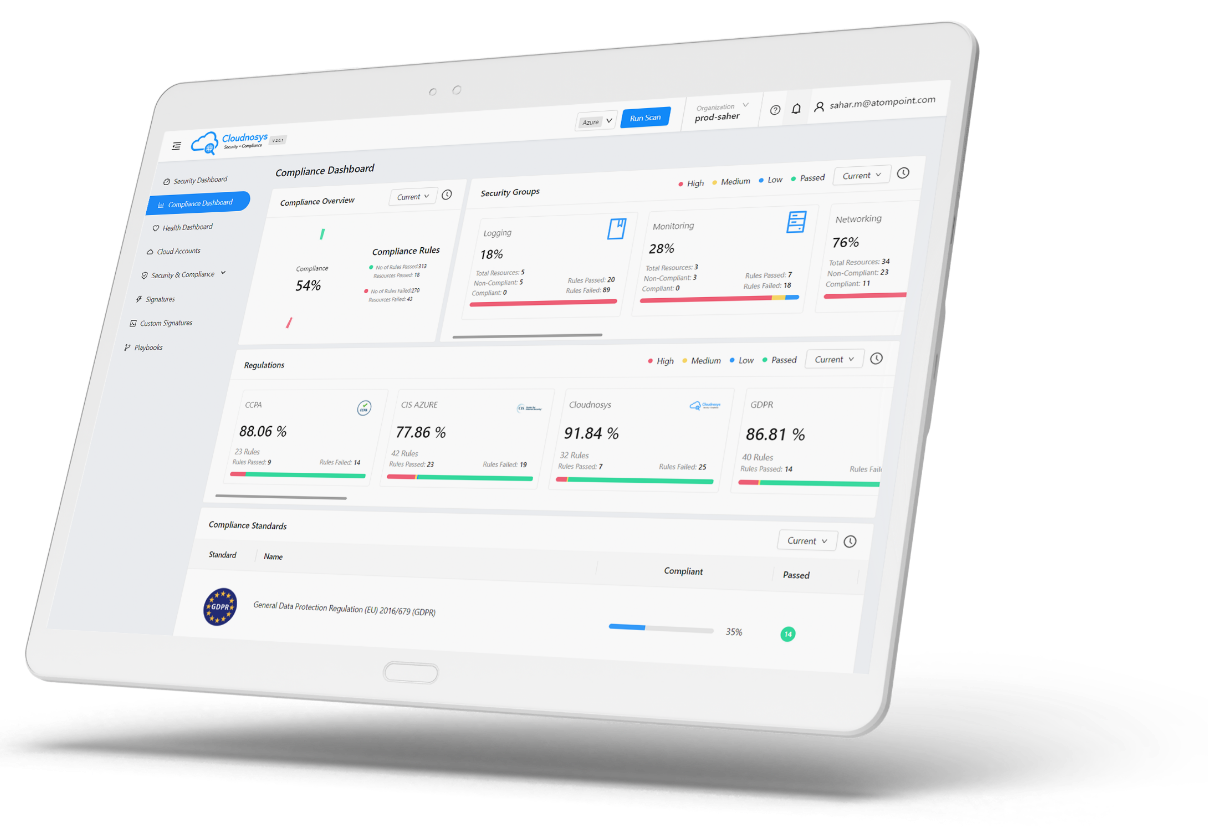
2. Compliance Dashboard
Compliance dashboard screens the brief summary of your cloud’s compliance environment. It displays the details of total risks and number of scan results in your all Cloudnosys cloud accounts. You can also view individual risks and scan results of all compliance and all cloud accounts with respect to security functions.
3. Health Dashboard
Health dashboard outlines the health of your cloud environment via charts about risks by security groups and scans.
Cloud Account Policies
When you onboard cloud accounts to Cloudnosys, you can choose whether to manage the account fully (Full-Protection), or to allow Cloudnosys read-only permissions to monitor it (for example, to issue alerts when unauthorized changes are detected, but not to roll them back).
Add AWS Cloud Account
1. Click on ![]() button on the screen or alternatively, navigate to Cloud Accounts dashboard and
button on the screen or alternatively, navigate to Cloud Accounts dashboard and
click ![]() button.
button.
2. Add Cloud Account screen would show up.
3. Select Amazon Web Services in Select Provider Screen and click ![]()
4. Select Region screen would appear, check on your desired regions and click ![]()
Note: All the regions would be selected by Default.
5. Enter a valid string in AWS Account Name field.
6. Log in to your AWS console, click https://console.aws.amazon.com/iam/home (open it in New tab).
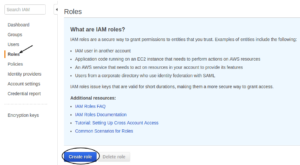
7. Navigate to Roles in the IAM console and click Create Role.
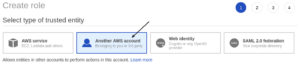
8. Click Another AWS Account in the Create Role screen.
9. Copy Account ID from your Cloudnosys Dashboard and paste it in the Account ID field in your AWS console.
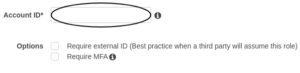
10. Navigate to your Cloudnosys tab and copy your External ID.
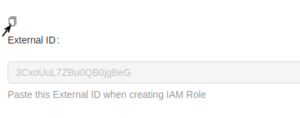
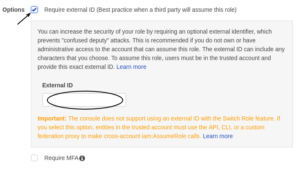
11. In options field, click on the first checkbox to Insert External ID.
Note: Do not refresh the cloudnosys tab at this point, because External ID changes every time the page is refreshed.
12. Click ![]()
13. In the next screen that appears, click ![]()
14. A new tab would open with AWS Create Policy screen.
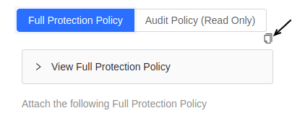
15. Now navigate to your Cloudnosys tab and select your desired policy out of the two given policies, by clicking on it.
Cloudnosys provides two types of Policies:
– Full Protection Policy (Full-Access) – Provides Remediation
– Security and Audit Policy (Read-Only) – Does not provide Remediation
16. After selecting your desired policy, click on the Copy button to copy the policy.
17. Paste this policy on the JSON editor of Create policy page.
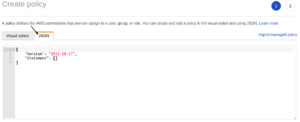
18. Click on ![]()
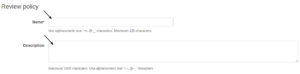
19. In the Review Policy Page that appears, enter your Policy name, its description and click ![]()
20. Now navigate to your previous AWS tab where you were creating IAM Role, refresh it and search the policy you just created.
21. Attach that policy and click ![]()
22. Click ![]() button in the next screen.
button in the next screen.
23. This would successfully create your IAM Role and generate a Role ARN.
24. To get your Role ARN, navigate back to Roles in AWS console, locate your Role name, click on that and it would open up your role summary, displaying your Role ARN on the top.
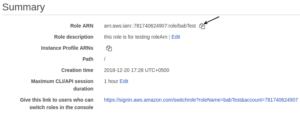
25. Copy Role ARN from AWS console and paste it in the Role ARN field in Cloudnosys Dashboard.
26. Click ![]()
27. Your Role would be successfully created.