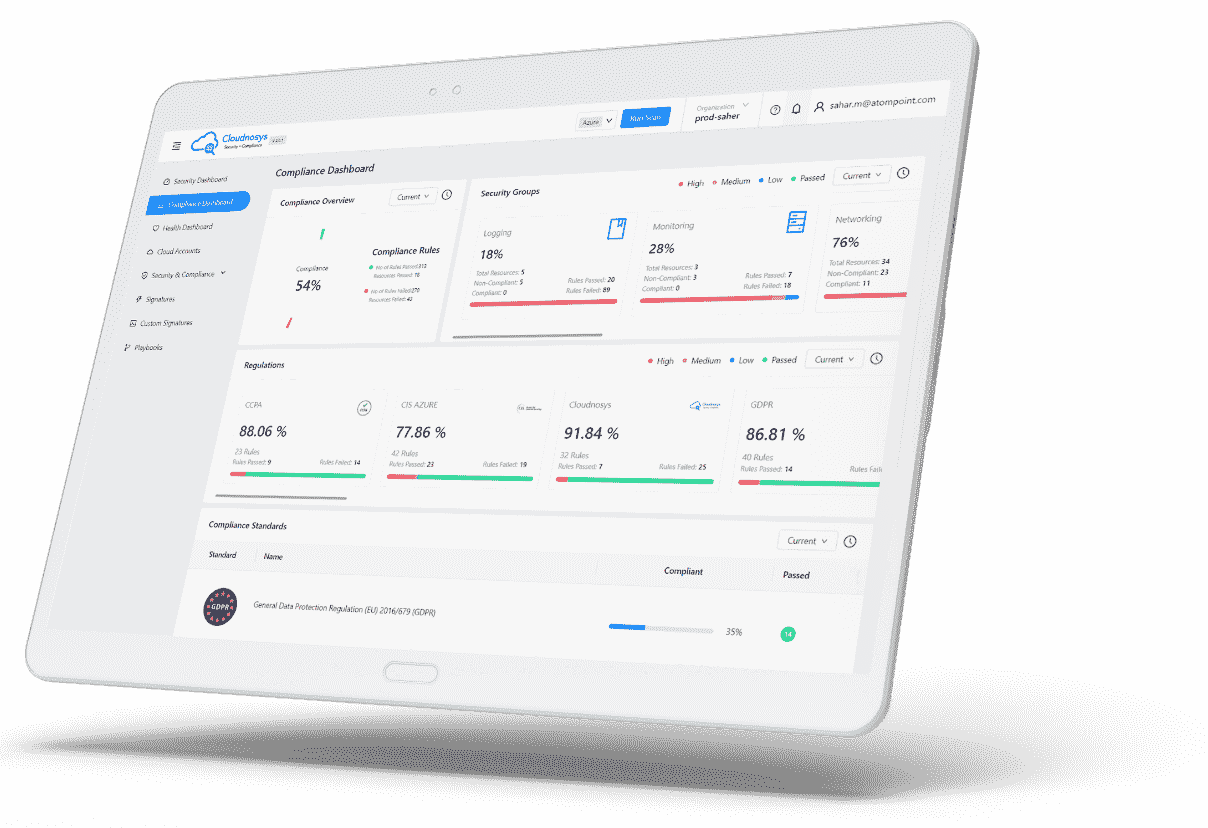
Cloudnosys can help you create custom compliance policies and regulations for meeting unique regulatory requirements for your cloud environments.
Custom Regulations, also known as Custom Policies, allow you to create your custom rules or policies by importing signatures. You can also import multiple rules within one regulation – it’ll merge the rules & discard the duplicates.
How to Create a Custom Regulation #
- Select Custom Policies from the side menu (Security & Compliance > Custom Policies).
- Click on the Create New button.
- In the Information section, enter the name and description of your custom policy.
To create a custom policy, you can either use a pre-existing policy as a base or create one without using any other policy/regulation.
Using a Pre-existing Policy #
- Click on the Import button. A modal will appear asking you to select a base policy.
- Select any base regulation and click OK. This will import the whole Index of the policy at the bottom of the Information section. For example, importing SOC2 will display the following list of indices.
For each Index & its Sub-index imported, signatures will also be imported. The signatures should be displayed on the right side of the screen.
Adding Signatures using Rule Sets #
A cloud security compliance policy can not be considered customizable if there is no way to pick-and-choose signatures for it. Cloudnosys allows you to add (or remove) signatures to your custom policies, regardless of whether there is a base policy or not.
Your choice of signatures can be added to a custom policy using Rule Sets. Rule Sets are security standards that contain more than one signature mapped according to a certain security rule.
- If you have not yet imported any policy, then add any signature directly by choosing signatures from the box right under the Add Signature heading (as shown in the image below). Signatures added this way will automatically be added to the 1st Rule Set.
Or If you have already imported a policy, you can also just add a new rule set using the + New rule set button – as shown in the image below. Note that the New rule set button is always at the bottom of this page.
You can use the new rule set to add new signatures to this custom policy separately from the ones already added via the Import feature. - Label the Rule Set(s) with an appropriate Number, Name, and Category. All 3 are customizable but you may also choose the category from a list of categories.
- Select the relevant signatures from the drop-down menu. The drop-down list will open as shown below:
- Once you’re done choosing the relevant signatures and setting up the Rule Sets, click on the Update button in the Information section. This will finally create your Custom Policy and give you insights instantly.


