Integrating OneLogin with Cloudnosys
OneLogin offers full-function access to all cloud and enterprise apps with a single click. Instead of remembering multiple passwords, URLs, and what apps you have access to, you are directed to an easy application catalog that will list your apps and can provide a single sign-on.
Here are the steps for the setup of OneLogin:
- Sign in to your OneLogin account & if you don’t have an account Signup through https://www.onelogin.com/free-trial
- Click on Administration from the navigation menu and then click on Applications from the drop-down menu.


- Click on the Add App button.


- In the search bar, type SAML and then click on SAML Custom Connector (SP Shibboleth). This will add the app.

- Type app name in the “Display Name”, upload app logo & then click Save


- Copy the SSO URL & the Callback Auth URL from the Cloudnosys OneLogin configuration screen.

- Paste them into your application configurations.
The SSO URL goes in place of your Login Details while the Callback Auth URL goes in place of your ACS (Consumer) URL.
- From the pane on the left-hand side, click on SSO.
- Copy the text from the fields named Issuer URL, and SAML 2.0 Endpoint (HTTP).


- Paste them in your OneLogin configurations in Cloudnosys. The Issuer URL will go in place of Entity ID from the service provider, while the SAML 2.0 Endpoint (HTTP) will go in place of the Identity Provider Single Sign-On URL.


- Then go back to your SSO screen in One Login and click on View Details under the field named X.509 Certificate.

- Scroll down and use the Copy to Clipboard button to copy all the text from the large text box.

- Go back to your OneLogin Configurations screen in Cloudnosys and paste it into the empty box under the X.509 Certificates field.

- Click on the Add Certificate button.


- Click on the Save button at the bottom of the same page.
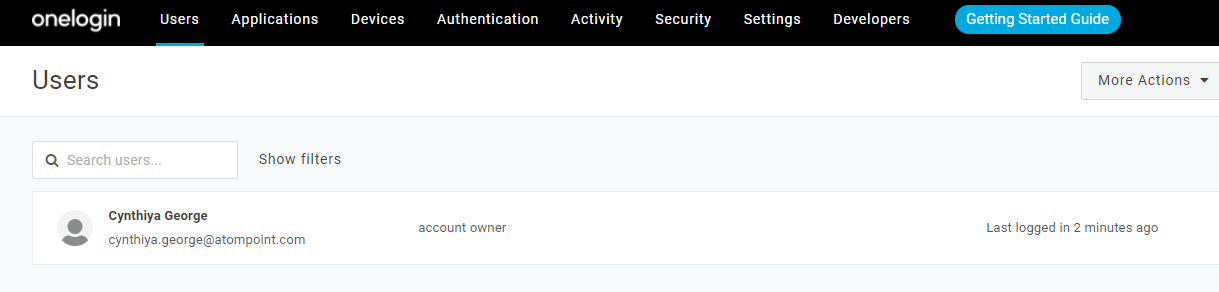
- Now we will assign the app to a user. Click on Users from the navigation menu and then click on Users from the drop-down menu.

- Click on the relevant User to open the user’s profile.

- From the pane on the left-hand side, click on Applications. And then click on the plus icon ( + ) to assign the application to the user. You’ll see a modal, select the user and then click Save.

- Your integration is all done.
To see the application you just added, go to your One Login profile and click on App Portal / Home from the drop-down menu

- Click on the app you just added to open Cloudnosys Dashboard directly. You would not be required to Log In.

To know more about the OneLogin app integration, click here.