Prerequisites #
Roles #
Before you set up your GCP Cloud Account on Cloudnosys, please ensure that your GCP IAM user has at least the following 3 roles assigned to it:
- Editor
- Security Admin
- Service Account Admin
These will be needed to create the required service account.
Google Cloud APIs #
Enable the following Google Cloud APIs:
- IAM API
- KMS API
- Cloud Asset API
- Cloud Storage API
- Cloud Functions API
- Compute Engine API
- Cloud SQL Admin API
- Cloud Resource Manager API
- Cloud Storage for Firebase API
Name Your GCP Service Account #
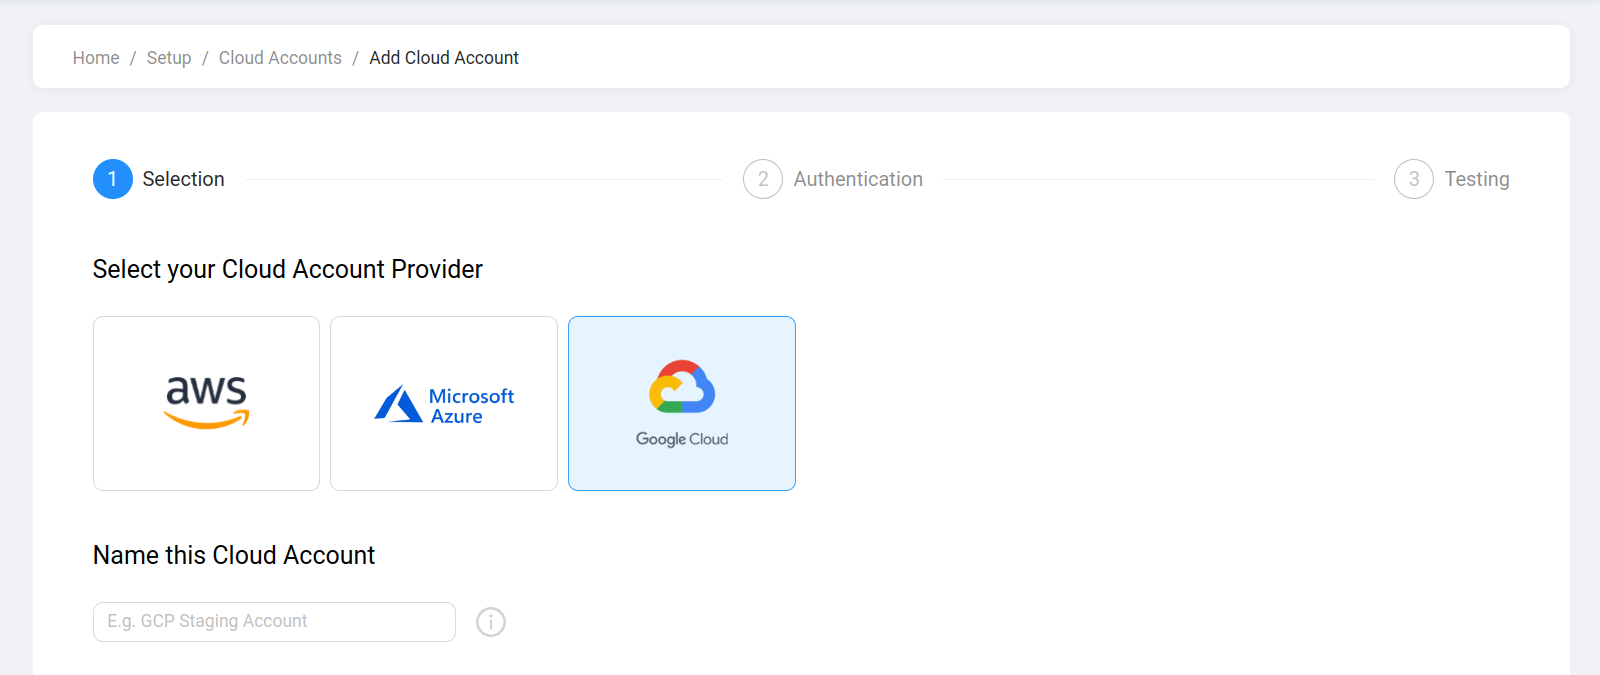
- Navigate to the Cloud Accounts list page from the Setup module.
- Click on the Add Account button.
- Select GCP as your Cloud Account Provider.

- Give a name to your Cloud Account. Choose a name that will make it easily differentiable if you add more Azure accounts with Cloudnosys.
- Click on the Next button to go to the next step.


Retreive & Enter Credentials #
- Next, you have to enter your GCP Service Account credentials which you can get from the GCP Console.

- You will also find the steps to get these credentials from your GCP console on the same page.

The same steps are detailed below in this section with screenshots.
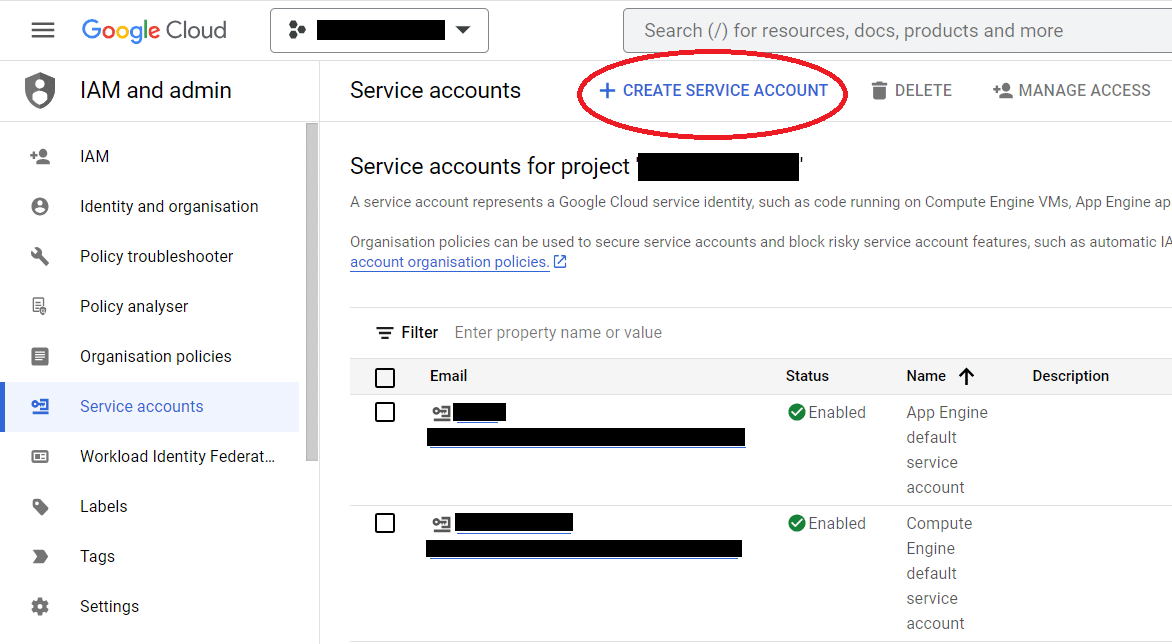
Create a Service Account #
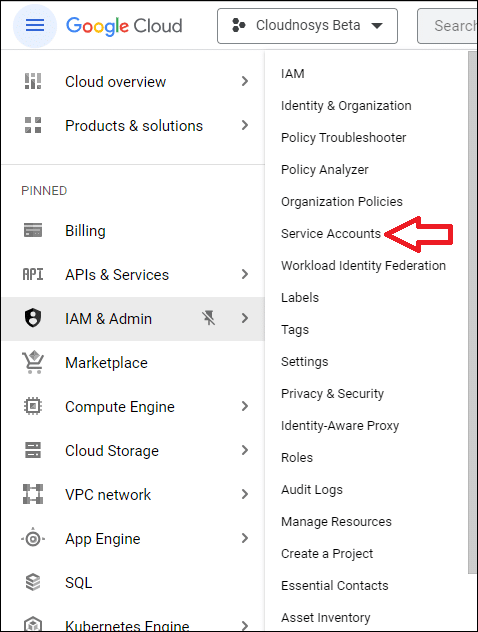
- Navigate to the Service Accounts page from the Sidebar Menu.

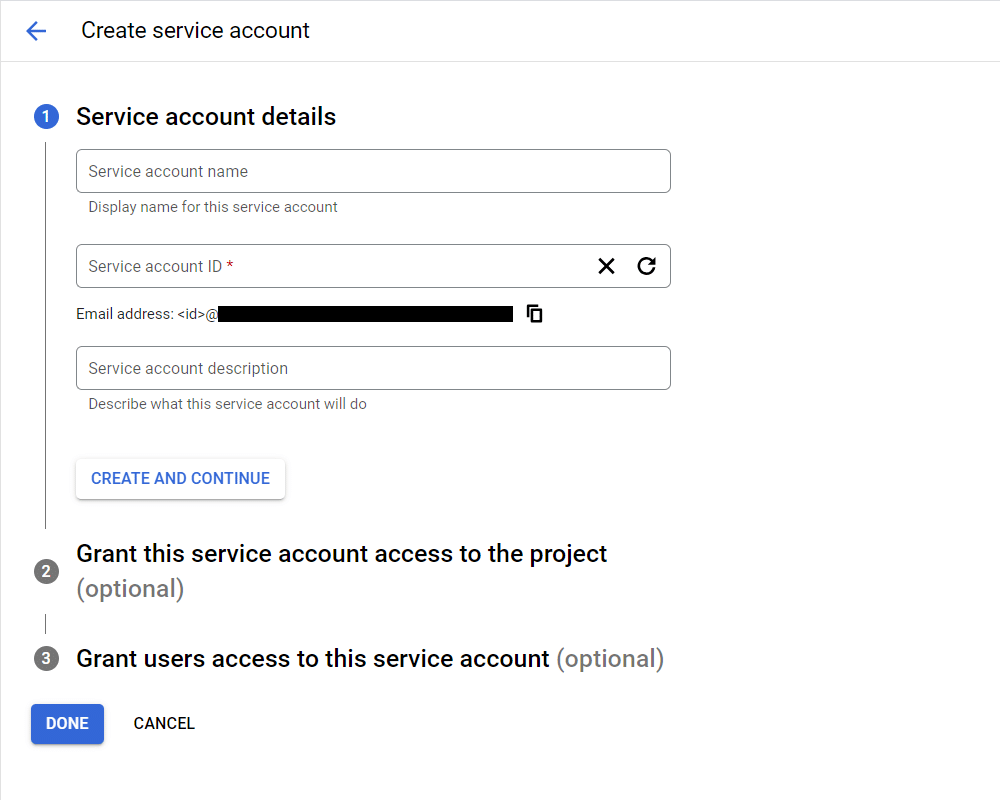
- Click on the “Create Service Account” button.

- Type a suitable Service Account Name. The service account ID will automatically be generated from the name.

- Click on the “Create and Continue” button.

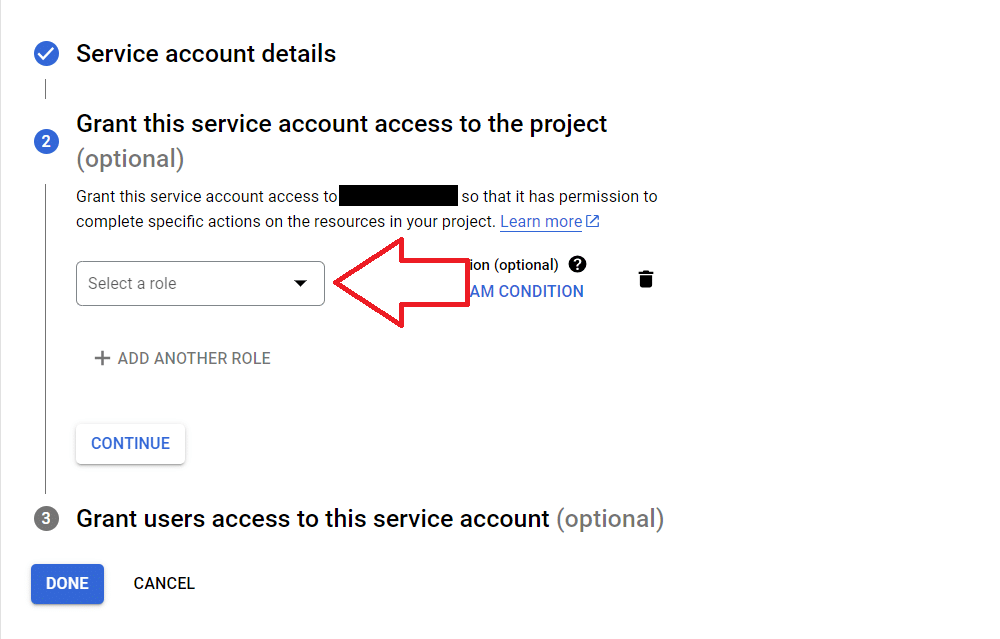
- Click on the “Select a Role” dropdown.

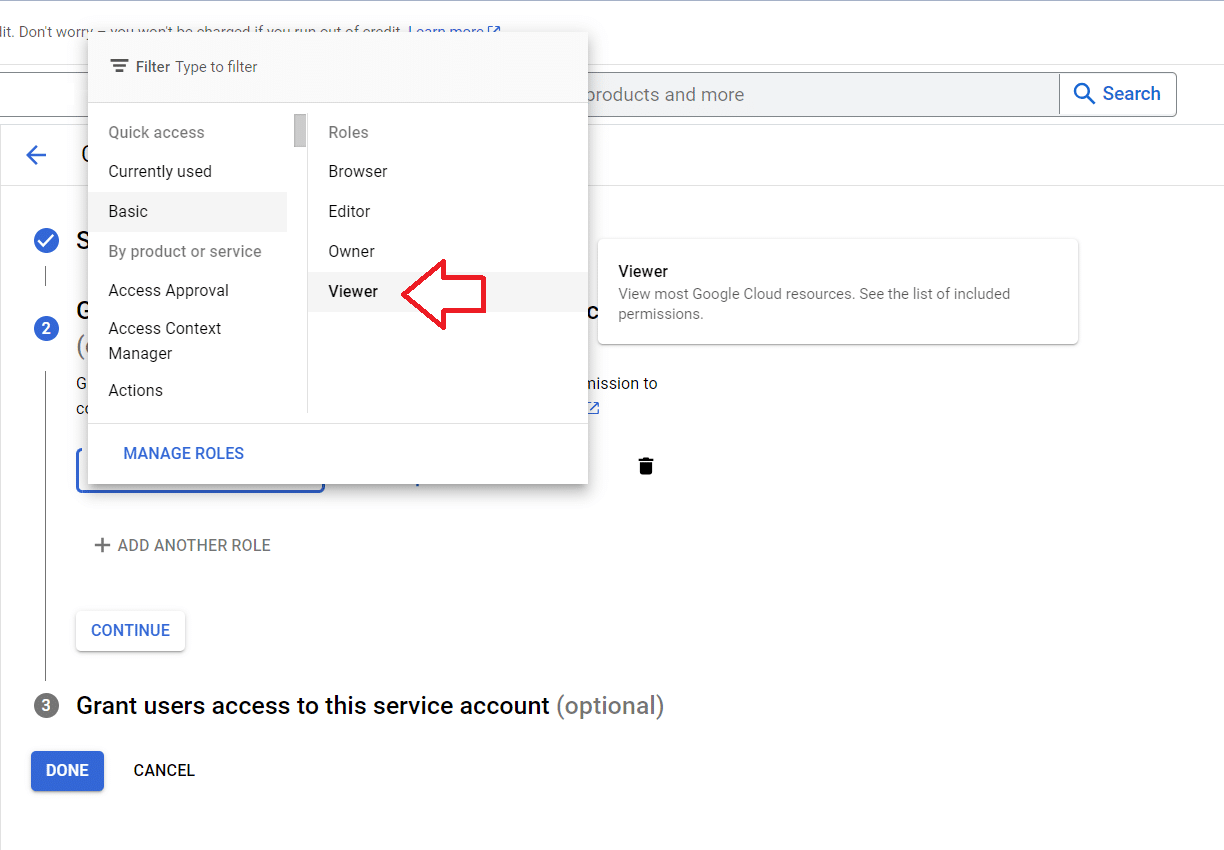
- From the “Basic” category, choose the role “Viewer”.

- Click on the “Add Another Role” button.

- In the dropdown’s search & filter bar, search for the “Security Reviewer” role & select it.

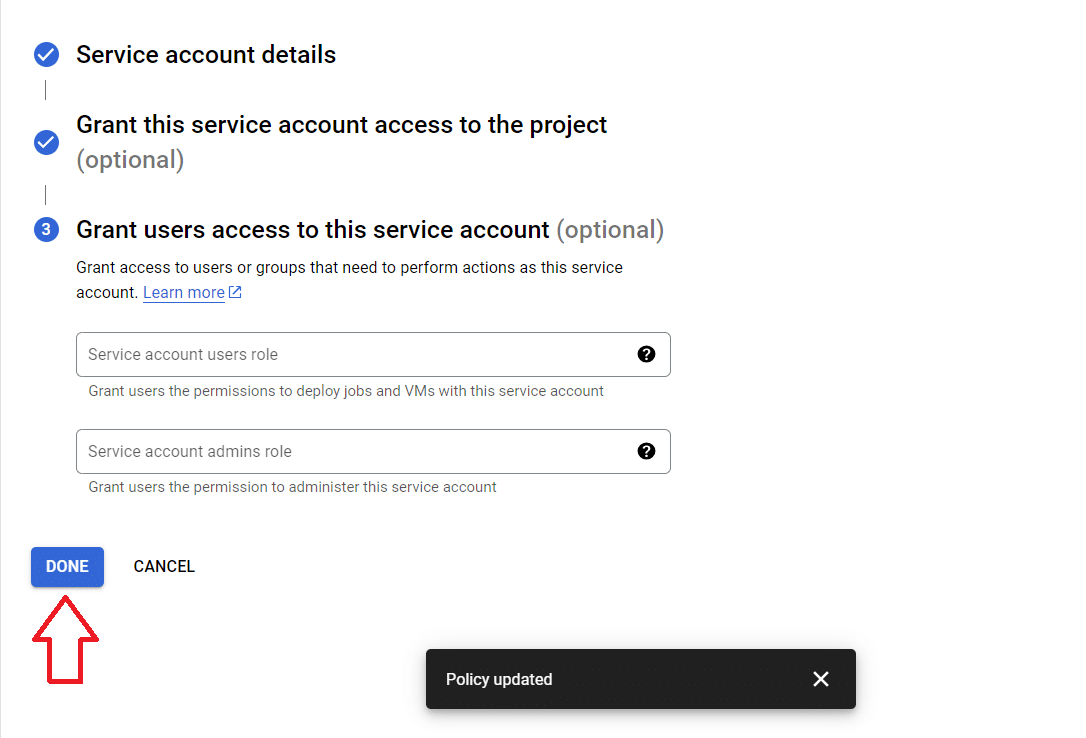
- Click on the “Continue” button.

- We can skip this part. Just click on the “Done” button.

- You will be taken to the Service Accounts page. There you can search for the service account you just created and confirm that it was created successfully.


Create Key #
- Click on the Service Account you just created.

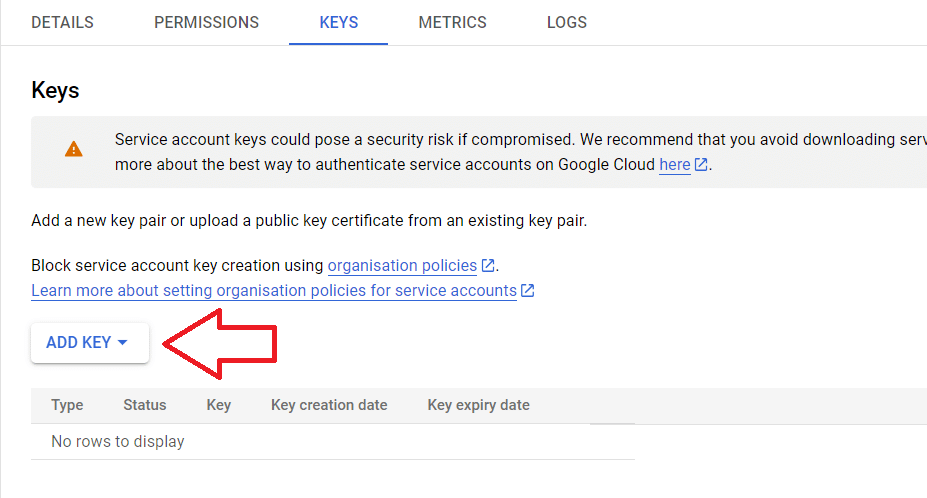
- Go to the Keys tab.

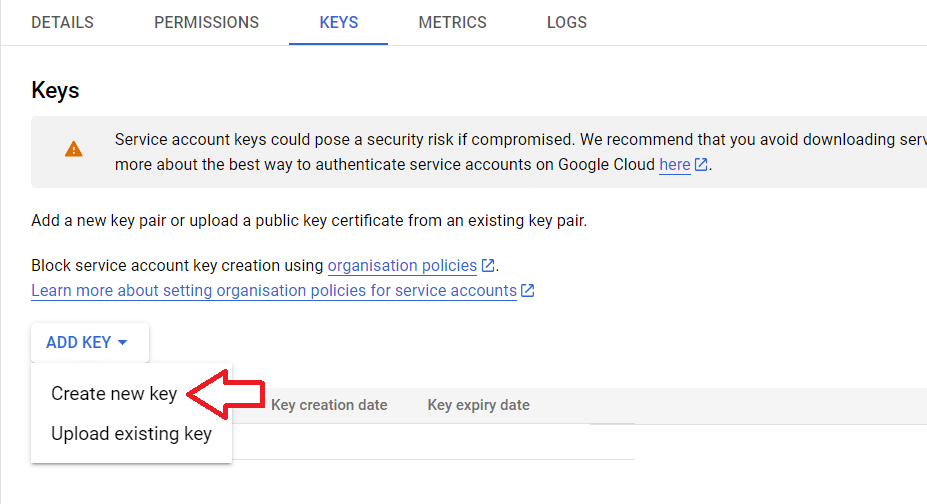
- Click on the “Add Key” dropdown.

- Click on the “Create new key” option.

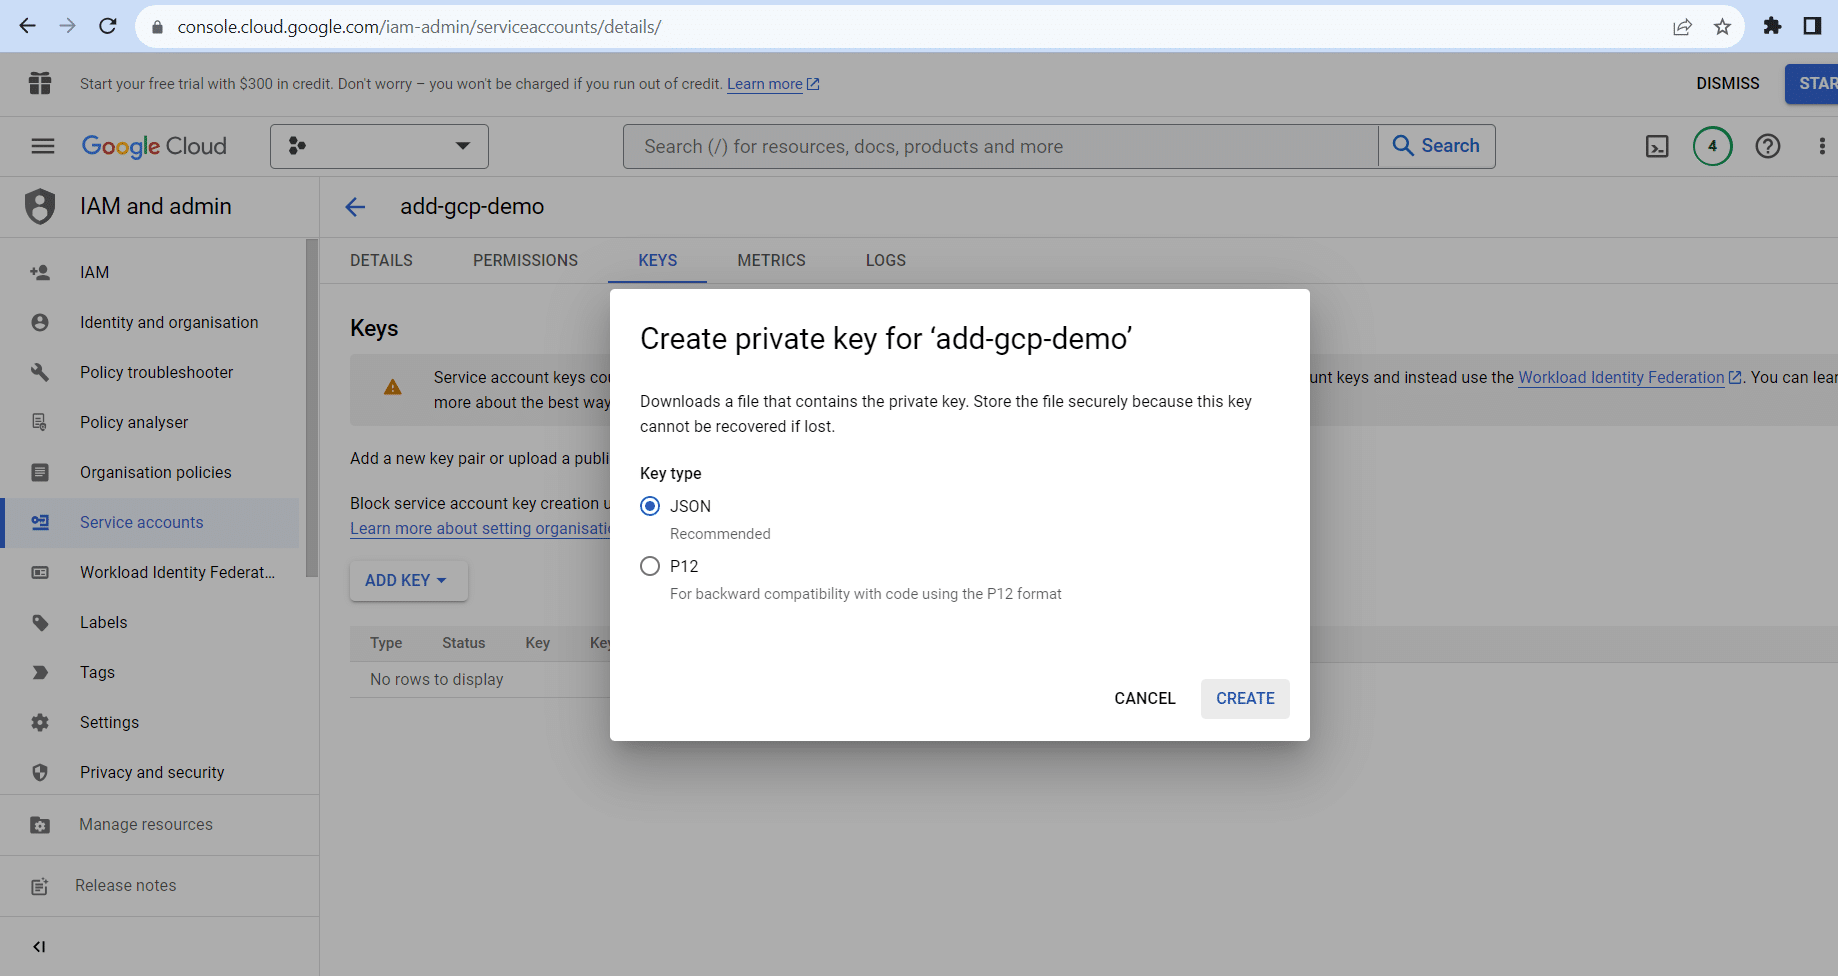
- Ensure that the JSON option is selected. Click on the “Create” button and then wait.

- Once the key gets created, a JSON file containing it will get downloaded to your device.


Paste Credentials #
- Copy all the contents of the JSON file.
- Go back to the tab where you have the Cloudnosys platform open.
- Paste the contents into the empty Service Account field.
- Scroll down & click on the “Test Connection & Add Cloud Account” button.
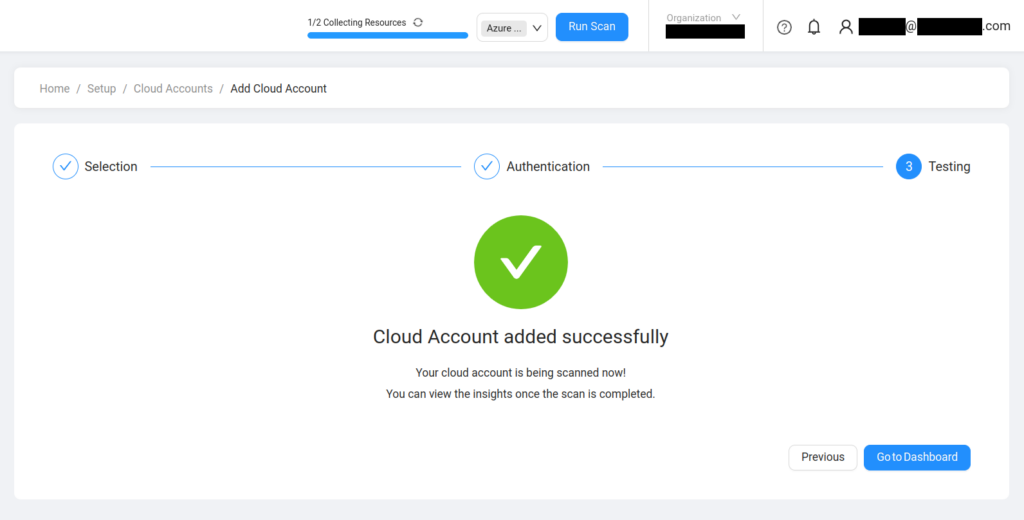
Testing & Scanning #
Once you are on the Testing step, Cloudnosys will run a few tests to ensure that the Cloud Account got integrated properly with the intended settings.
As soon as the connection gets established successfully, the scan will begin running instantly.